A leaking or blown freeze plug is one of those repairs that sounds intimidating but is well within reach for most DIY mechanics. Learning how to install freeze plugs correctly can save you a costly trip to the shop while protecting your engine from coolant loss and overheating. The good news is that installing a freeze plug is one of the more approachable engine repairs you can tackle in your own driveway. In this guide, you will learn what freeze plugs are, what tools you need, and exactly how to install them properly so they seal tight and stay put. Whether you are working on a small block Chevy, a classic restoration, or a daily driver, the steps are the same, and we will walk you through each one.
In This Article
Explore Our Categories


What Is a Freeze Plug and What Does It Do?
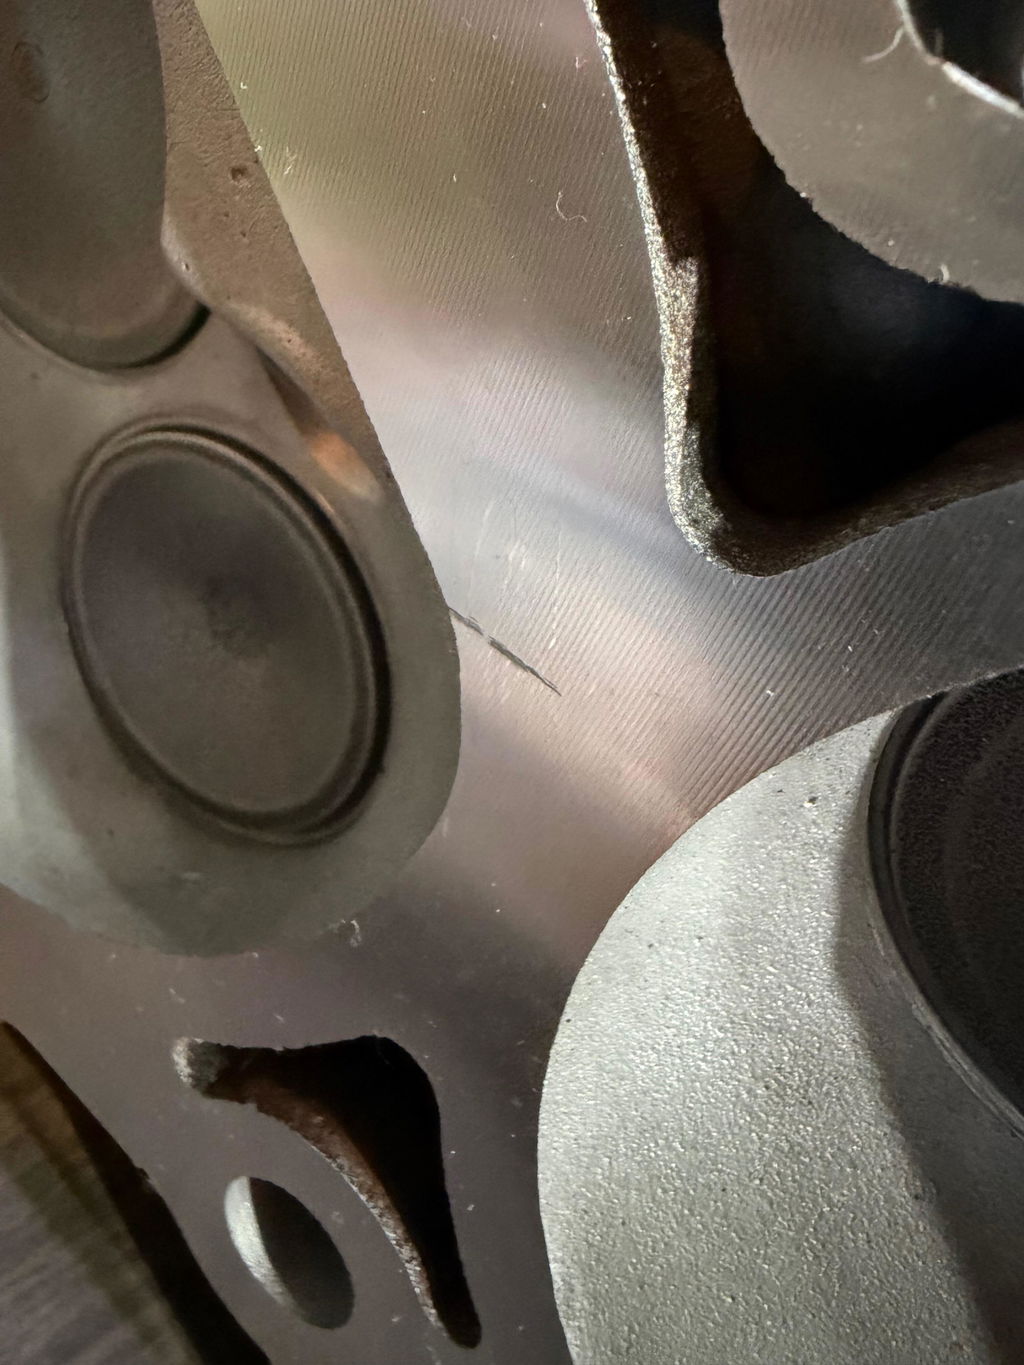
A freeze plug is a small, cylindrical metal disc seated into machined holes in your engine block and cylinder head. You'll also hear them called core plugs, Welch plugs, or expansion plugs, but they all refer to the same component. These holes are left over from the casting process, where sand cores are removed after the block is formed. The plugs simply seal those openings so coolant can circulate without leaking.
Their nickname comes from a secondary benefit. If the coolant freezes and expands, a freeze plug can pop out and relieve pressure, which may spare the block from cracking. In everyday use, though, their main job is keeping your cooling system sealed. Made from steel, brass, or aluminum, they are small parts that carry a big responsibility for engine health.
Where Are Freeze Plugs Located?
Knowing where the freeze plugs are located is the first step before you buy parts or pick up a tool. Most engines have several plugs distributed across the sides of the block, with additional ones at the rear and sometimes in the cylinder heads. A common small-block V8, for example, often has eight or more plugs spread across both sides of the block plus the back.
Access varies dramatically by vehicle. Side plugs may sit behind the exhaust manifolds, motor mounts, starter, or transmission bellhousing. The rear plug, tucked between the engine and transmission, is usually the hardest to reach and sometimes requires pulling the engine or transmission. Before starting, locate the specific plug that's leaking so you know what you're up against and whether you can reach it from above, below, or only with components removed.
Signs You Need to Replace a Freeze Plug
Catching a failing plug early prevents bigger problems. Watch for these common symptoms of a bad freeze plug:
-
Coolant pooling under the engine or running down the side of the block
-
A sweet smell or a visible orange, green, or pink crust around a plug
-
Unexplained coolant loss with no obvious hose or radiator leak
-
Engine overheating from gradual coolant depletion
-
Rust streaks or corrosion radiating from a plug's edge
Freeze plugs typically fail from internal corrosion, often caused by old coolant or an improper water-to-coolant mix that lets the metal rust from the inside out. When one finally lets go, you may lose coolant fast, so address the symptoms promptly.
Tools and Materials You'll Need
Gather everything before you begin so the job goes smoothly:
-
Replacement freeze plug or freeze plug set sized to your engine
-
Flat-blade screwdriver, pin punch, or pry bar (for removal)
-
Hammer and a freeze plug installation tool, a large socket, or an appropriately sized driver
-
Coolant-rated sealant
-
Drain the pan and freshen the coolant
-
Wire brush, scraper, and brake cleaner or solvent
-
Shop towels and safety glasses
For the part itself, choose the right material for your needs. Steel plugs are the standard OEM choice and offer solid durability. Brass plugs resist corrosion better and are popular for long-term builds and marine or restoration work. The most important factor is correct sizing. Allied Motor Parts offers freeze plug sets matched to specific engine families and year ranges, so you get plugs engineered to fit your block without guesswork. Buying a complete set is smart, since replacing the surrounding plugs while you have access can save you from repeating the job later.
How to Remove the Old Freeze Plug
Removal comes before installation, and patience here protects your block.
-
Drain the coolant. Position a drain pan and open the radiator petcock or lower hose until coolant drops below the plug you're replacing.
-
Clear your access. Remove any components blocking the plug, such as a manifold, bracket, or shield.
-
Knock the plug sideways. Using a punch or screwdriver and hammer, strike one edge of the plug to rotate it sideways inside its bore. Do not drive it straight into the block, where it can be hard to retrieve.
-
Grip and pull. Once the plug turns, grab the exposed edge with pliers and work it out.
-
Inspect the bore. Check the machined hole for corrosion, pitting, or scoring that could compromise a new seal.
Take care not to gouge or distort the bore. A clean, undamaged bore is essential for a leak-free result.
How to Install Freeze Plugs Step by Step
With the old plug out and the bore inspected, you're ready for the installation. Proper freeze plug installation comes down to a clean surface, the right sealant, and seating the plug squarely.
-
Clean the bore thoroughly. Use a wire brush and scraper to remove all rust, scale, and old sealant, then wipe the surface with brake cleaner or solvent. Any debris left behind can create a leak path.
-
Confirm the correct size. Dry-fit your new plug. It should sit snugly at the mouth of the bore before installation. A plug that's even slightly off-size will not seal reliably.
-
Apply sealant. Coat the outer edge of the plug and the bore with a coolant-rated sealant. This helps fill microscopic imperfections and locks the plug in place.
-
Position the plug squarely. For a standard cup-style plug, set it into the bore with the flat, closed face pointing inward toward the engine and the open, flanged edge facing outward. The flanged lip is the sealing surface, and it seats against the bore for a tight friction fit. Keeping the plug perfectly straight is critical, since a cocked plug will leak or pop out.
-
Drive it in evenly. Using a freeze plug tool, a large socket, or a driver matched to the plug diameter, tap it in with a hammer using firm, even strikes against the flat closed face. Never let your tool contact the flanged sealing edge, since damaging it will cause leaks. Seat the plug so the flange sits just past the chamfered edge of the bore, roughly flush with the surface of the block. Strike the center of your driver, not the edge of the plug, to avoid distorting it.
-
Repeat as needed. If you're installing freeze plugs as a full set, work through each one using the same method, taking care with access and squareness at every location.
The whole sequence rewards care over speed. A plug seated clean, straight, and to the right depth will outlast a rushed one every time.
Installing Freeze Plugs in a Tight Spot
Not every plug is easy to reach, and many can be replaced without pulling the engine. For tight locations, a freeze plug installation tool with a threaded design lets you draw the plug in by tightening a nut, which works where there's no room to swing a hammer. When you simply cannot reach a plug straight on, a slightly smaller driver and a series of careful, angled taps can still seat it. The rear plug behind the transmission is the toughest, and on some vehicles, it may require separating the transmission for proper access. Assess realistically before committing, and don't force a plug into a bore you can't reach squarely.
How Much Does Freeze Plug Replacement Cost?
The plugs themselves are inexpensive, which is why this repair is so satisfying to do yourself. A freeze plug set is a modest investment compared to shop labor, which can climb quickly when a plug sits in a hard-to-reach location and requires hours of access work. For DIY mechanics, the main costs are your time and fresh coolant. Sourcing a correctly fitted front setup, like those from Allied Motor Parts with engine-specific matching and a one-year warranty, keeps the job affordable and gets it done right the first time.
Final Thoughts
Replacing a freeze plug is a genuinely approachable repair when you work methodically: diagnose the leak, confirm where the freeze plugs are located on your engine, remove the old plug without damaging the bore, and seat the new one clean, square, and sealed. Done carefully, freeze plug installation restores your cooling system and protects your engine for years to come. When you're ready for parts, Allied Motor Parts offers engine-specific freeze plug sets, cylinder heads, and related components backed by expert support and a one-year warranty to help you get the job done right.